


I always wanted a bedroom with a fifties vintage ballerina theme. When my daughter left home with her spotted red hanky tied onto a stick slung over her shoulder (Piggling Bland reference for anyone who doesn't know what I'm on about), I was allowed to decorate her room!
So I did it vintage ballerina style... will blog about that soon, and put photos on flikr.
Decided to use all my little scraps of ballerina material and other doily remnants and bits and pieces to make a raggy quilt for the bed. Here's how you make it.

I cut my squares of wadding and my squares of backing to 8 and a half inches, but you can use whatever size you like. Lay the backing down wrong side up and place the wadding on top.

Cut several strips of co-ordinating fabrics into varying widths. I made them no bigger than three inches wide. Begin by sewing a strip right side up through the diagonal of the square.

Pin the next strip to the top of the previous one, right sides together, and sew like foundation piecing, through all the three layers with a quilting seam allowance ( I think it's about 3/8 of an inch - doesn't matter anyhow, wont affect the look of the finished piece).

Turn the piece over and press the seam, so that both pieces are now right side facing.

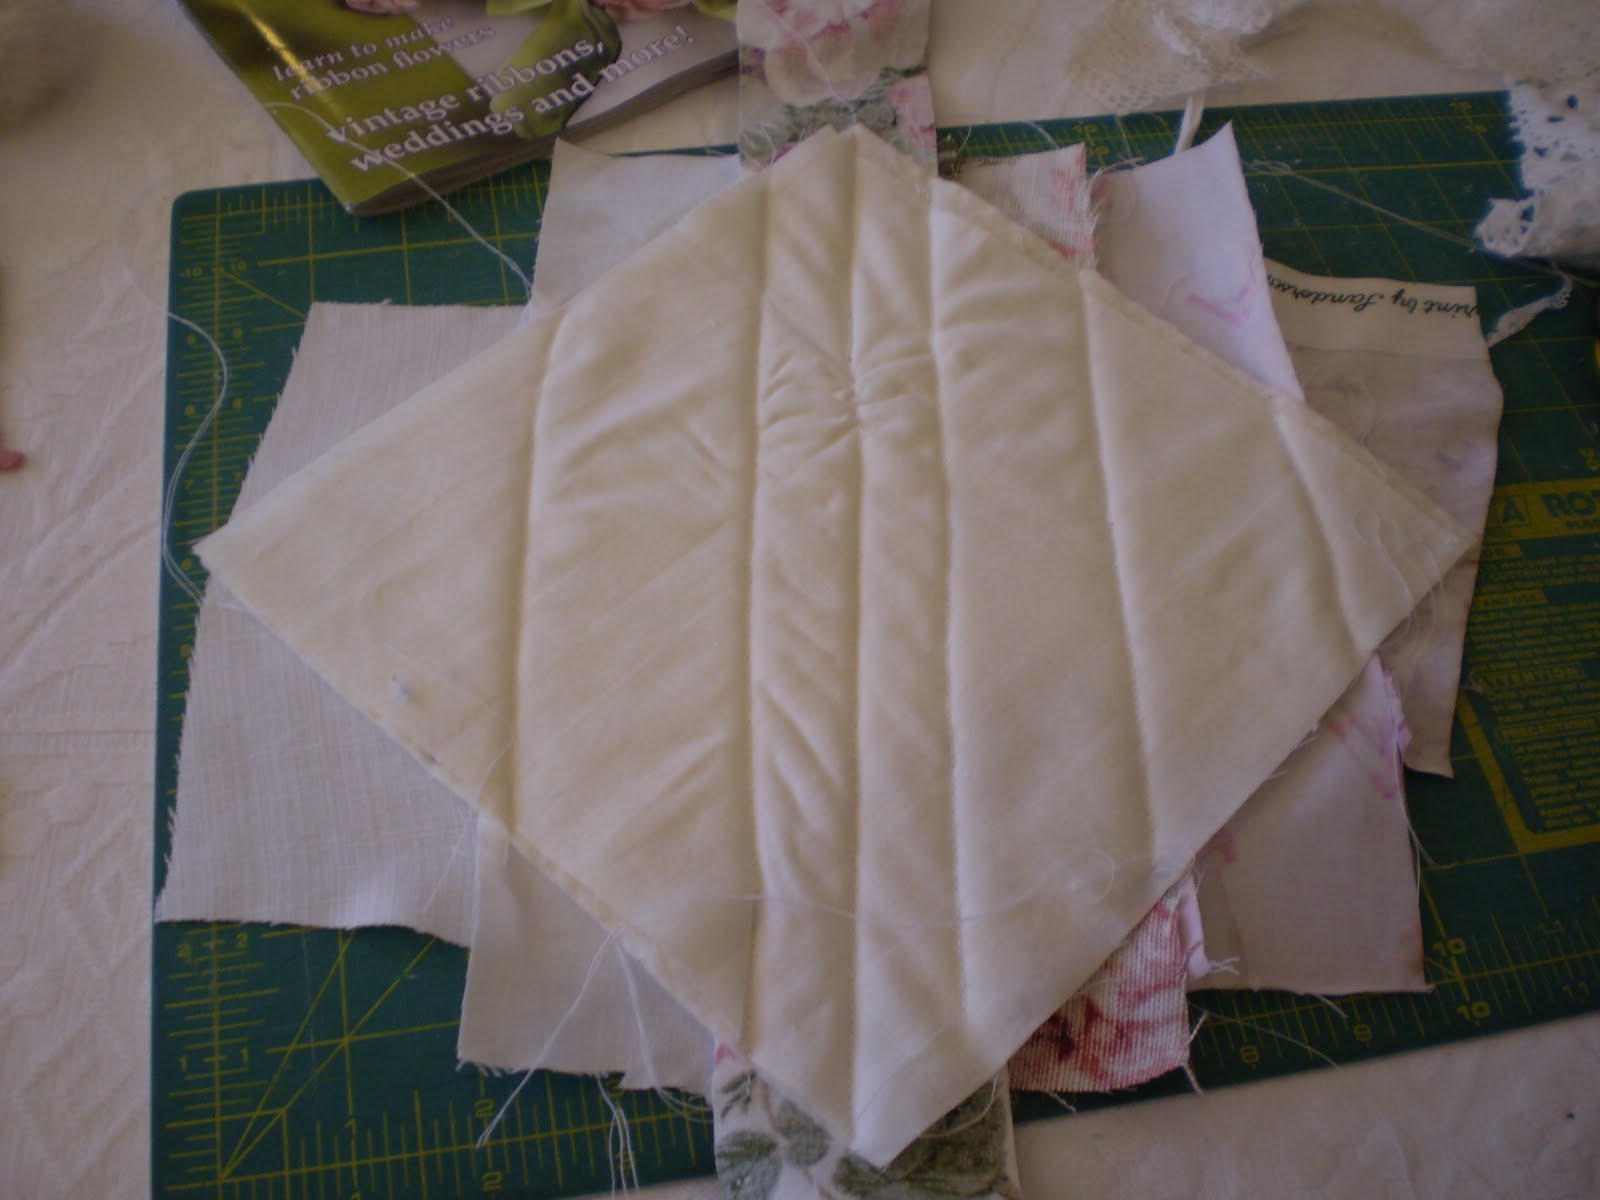
Continue with each strip till you have covered the whole square, turn it over and trim to shape with a rotary cutter.

Make as many squares as you like and lay them out in a combination that pleases you. Sew the pieces together with the seams showing on the RIGHT side (front of quilt). Splice along each seam allowance as you go, making approximately 5mm gaps between splices. I used sharp embroidery scissors. Afterwards you wash the quilt with a towel and put it in the tumble dryer with a towel or a tennis ball to "raggy" up the seam allowances.
 This is what i mean by splicing the seam allowance. Making small nicks in it almost to the seam, but not through it.
Took this pic by myself, while simultaneously cutting!!! Hence the slightly out of focus cinematography effects:P

Splice all the seam allowances like this, then throw it in the washing machine!

The raggy edges look something like this when they come out of the dryer. I haven't finished mine yet, but I'll put it on the blog when I do. You know what I'm like.... it might be a little while because I'll be working on the other ten projects I've got going!


No comments:
Post a Comment